Delightful Cake Pops: Easy and Irresistible Recipes for Bite-Sized Sweet Treats
Cake pops are delightful bite-sized treats that have taken the dessert world by storm. These irresistible confections are a combination of moist cake and creamy frosting, all rolled into a small ball and served on a stick. They are not only visually appealing but also incredibly delicious, making them the perfect sweet treat for any occasion.
The beauty of cake pops lies in their versatility. They can be made in various flavors, shapes, and colors, allowing for endless creativity in both taste and presentation. Whether you're hosting a birthday party, bridal shower, or simply craving something sweet, cake pops are sure to bring joy to your taste buds.
In this article, we will explore the fascinating history and origin of cake pops, discover the essential ingredients required to make them, provide step-by-step instructions on how to create these delectable treats at home, share tips and tricks for achieving perfect results every time, suggest flavor variations to suit different preferences, discuss decorating techniques to make your cake pops truly eye-catching, and offer advice on serving and storing them.
So get ready to embark on a journey into the world of cake pops as we uncover the secrets behind these tiny balls of sweetness that are guaranteed to bring smiles and delight to everyone who tries them.
History and origin of cake pops
Cake pops have become a popular treat in recent years, but their history and origin can be traced back to the early 2000s. The concept of cake pops is said to have been developed by Angie Dudley, also known as Bakerella. She first introduced these bite-sized delights on her blog in 2008.
The idea behind cake pops was inspired by the desire to create a portable and mess-free version of cake. Traditionally, cake is baked in a large pan or tin and then sliced into individual servings. However, with cake pops, the entire cake is crumbled and mixed with frosting to form a moist dough-like consistency.
The technique of shaping the mixture into small balls on sticks was influenced by the popularity of lollipops and other sweet treats on sticks. This made them not only delicious but also fun and visually appealing.
Cake pops quickly gained traction and became a sensation in the baking world. They were embraced by home bakers and professional pastry chefs alike, who experimented with different flavors, decorations, and techniques.
Today, cake pops are enjoyed at various events such as birthdays, weddings, baby showers, and even as party favors. Their versatility has made them a hit among dessert lovers of all ages.
The history and origin of cake pops demonstrate how a simple idea can evolve into a beloved dessert trend. It's fascinating to see how one person's creativity sparked a culinary revolution that continues to delight taste buds around the world.
Ingredients required to make cake pops
To make delicious cake pops, you will need a few key ingredients. First and foremost, you'll need a baked cake of your choice. You can use any flavor you prefer, such as chocolate, vanilla, or red velvet. Additionally, you will need frosting to bind the crumbled cake together. Buttercream or cream cheese frosting works best for this purpose.
Other essential ingredients include lollipop sticks or skewers for inserting into the cake balls, candy melts or chocolate for coating the cake pops, and various toppings for decoration. Sprinkles, crushed nuts, shredded coconut, or colored sugar are popular choices.
It's important to note that the quality of your ingredients will greatly impact the taste and texture of your cake pops. Opt for high-quality chocolate and fresh ingredients to ensure the best results. With these basic ingredients in hand, you're ready to embark on your journey to create irresistible bite-sized treats!
Step-by-step instructions on how to make cake pops
1. Crumble a fully baked cake into fine crumbs using your hands or a food processor.
2. In a large bowl, combine the cake crumbs with frosting of your choice. Start with a small amount and gradually add more until the mixture holds together like dough.
3. Roll the mixture into small balls, about 1 inch in diameter, and place them on a lined baking sheet.
4. Insert a lollipop stick into each cake ball, making sure it's securely in place.
5. Chill the cake pops in the refrigerator for at least 30 minutes to firm up.
6. While the cake pops are chilling, melt candy coating or chocolate in a microwave-safe bowl according to package instructions.
7. Dip each chilled cake pop into the melted coating, allowing any excess to drip off.
8. Decorate the cake pops with sprinkles, crushed nuts, or drizzle additional melted chocolate over them for added flair.
9. Place the decorated cake pops back onto the lined baking sheet and let them set completely before serving or storing.
Follow these simple steps to create delicious and visually appealing cake pops that are sure to impress your family and friends!
Tips and tricks for perfect cake pops
Tips and Tricks for Perfect Cake Pops:
1. Crumble the cake finely: To ensure a smooth texture, crumble the cake into fine crumbs using your hands or a food processor.
2. Use the right amount of frosting: Adding too much frosting can make the cake pops overly sweet and heavy. Start with a small amount and gradually add more until the mixture holds its shape when rolled into a ball.
3. Chill the mixture before shaping: Place the cake pop mixture in the refrigerator for about 30 minutes before shaping them into balls. This will make it easier to roll and prevent them from falling apart.
4. Use high-quality melting chocolate: Opt for high-quality melting chocolate or candy melts for coating your cake pops. They melt smoothly and provide a glossy finish.
5. Dip at room temperature: Allow the melted chocolate to cool slightly before dipping the cake pops. If it's too hot, it may cause the cake pops to slide off or create lumpy coatings.
6. Tap off excess coating: After dipping the cake pop into the melted chocolate, gently tap off any excess coating by tapping your wrist lightly. This will help achieve a thin and even layer of chocolate.
7. Decorate immediately: If you plan to add sprinkles or other decorations, do so while the coating is still wet so that they adhere properly.
8. Stand upright to set: Insert each finished cake pop into a foam block or stand them upright on parchment paper until completely set. This prevents flat spots and ensures even drying.
9. Experiment with flavors and designs: Don't be afraid to get creative! Try different flavor combinations by adding extracts, spices, or mix-ins to your cake pop mixture. You can also experiment with various decorating techniques like drizzling, marbling, or piping designs onto your finished pops.
By following these tips and tricks, you'll be well on your way to creating perfect, deliciously irresistible cake pops every time.
Variations and flavor ideas for cake pops
Variations and flavor ideas for cake pops are endless, allowing you to get creative in the kitchen. You can experiment with different cake flavors such as chocolate, vanilla, red velvet, or even lemon. For added texture, consider adding crushed cookies, nuts, or sprinkles to the cake mixture.
To enhance the flavor profile, try incorporating various fillings like fruit preserves, caramel, or peanut butter into the center of your cake pops. You can also add a hint of liqueur or flavored extracts to give them an extra kick.
For a visually appealing twist, dip your cake pops in different types of melted chocolate—white, milk, dark—or even colored candy melts. Sprinkle them with edible glitter or drizzle contrasting colors for an eye-catching effect.
To take it up a notch, consider incorporating themed decorations based on holidays or special occasions. Use colored sugar crystals for Christmas-themed pops or heart-shaped sprinkles for Valentine's Day.
Remember that the key is to have fun and let your imagination run wild when it comes to flavors and decorations. The possibilities are endless when creating these bite-sized treats!
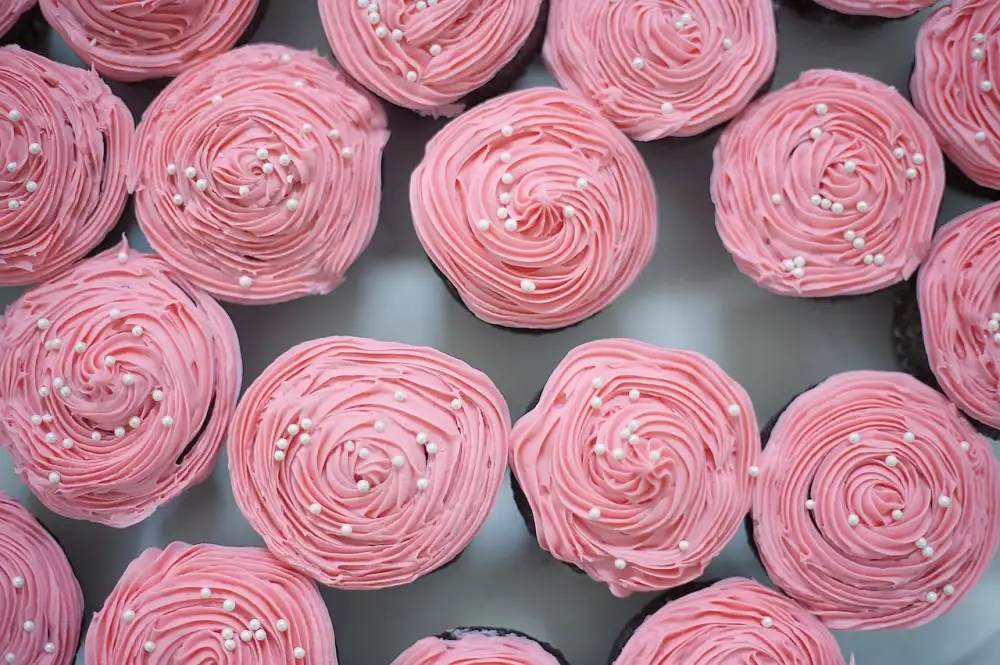
Decorating techniques for cake pops
Decorating techniques for cake pops are where you can let your creativity shine! Once your cake pops have been dipped in chocolate and allowed to set, it's time to add those finishing touches. Here are some popular decorating techniques:
1. Sprinkles: Sprinkle colorful jimmies, nonpareils, or edible glitter over the chocolate coating while it's still wet. This adds a fun and festive touch.
2. Drizzle: Use a contrasting color of melted chocolate or candy melts to drizzle over the cake pops. You can use a spoon or a piping bag with a small tip to create beautiful patterns.
3. Swirls: Dip a toothpick into melted chocolate and gently swirl it around the cake pop to create mesmerizing patterns.
4. Molds: Use silicone molds to create different shapes and designs on your cake pops. Simply pour melted chocolate into the mold, insert the stick, and let it set before removing from the mold.
5. Fondant decorations: Roll out fondant and cut out shapes using cookie cutters or specialized fondant cutters. Attach them to the cake pops using a little bit of melted chocolate as glue.
Remember, when decorating cake pops, work quickly as the chocolate sets fast. If you want to add multiple decorations, do so before the chocolate hardens completely. Get creative with colors, shapes, and designs to make your cake pops truly eye-catching!
Serving and storing cake pops
Serving and storing cake pops is just as important as making them. Once your cake pops are ready, you can serve them on a platter or arrange them in a decorative stand for a stunning presentation. These bite-sized treats are perfect for parties, birthdays, or any special occasion.
To store cake pops, place them in an airtight container at room temperature. They will stay fresh for up to 3 days. If you need to store them longer, refrigerate them for up to a week. Before serving refrigerated cake pops, allow them to come to room temperature for about 15 minutes.
If you want to freeze cake pops, individually wrap each pop in plastic wrap and place them in an airtight container or freezer bag. They can be frozen for up to 2 months. When ready to enjoy, thaw the cake pops in the refrigerator overnight and bring them to room temperature before serving.
Remember that cake pops are delicate, so handle them with care when serving or storing. Avoid stacking them too closely together as they may stick or lose their shape.
Whether you're serving cake pops at a party or saving some for later, following these storage guidelines will ensure that your delightful creations remain fresh and delicious until it's time to indulge again!
In conclusion, cake pops are a delightful and versatile treat that can bring joy to any occasion. With their bite-sized nature and endless flavor possibilities, they are sure to be a hit with both kids and adults alike. Whether you're making them for a birthday party, a holiday gathering, or simply as a sweet indulgence for yourself, cake pops are easy to make and always a crowd-pleaser. So why not give them a try and let your creativity soar? With the right ingredients, techniques, and decorations, you can create beautiful and delicious cake pops that will leave everyone wanting more. So go ahead and enjoy the fun and deliciousness of cake pops – it's time to celebrate with these irresistible bite-sized treats!
Published: 21. 02. 2024
Category: Recipes